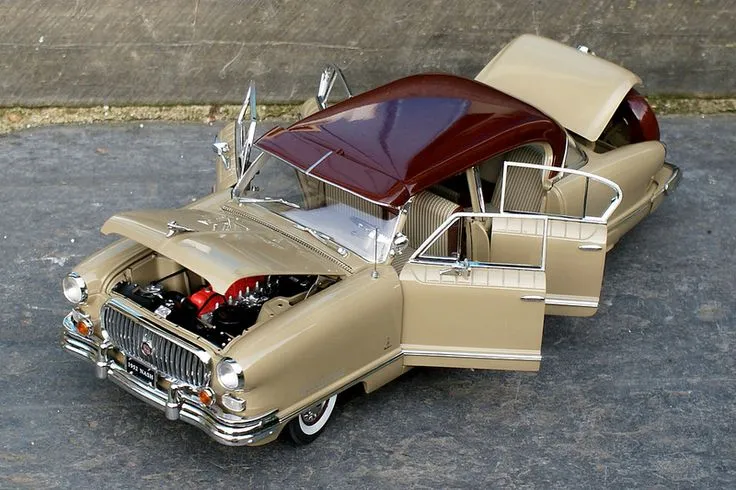
The Diecast Car Creation Process
Diecast cars, cherished by collectors and enthusiasts alike, are miniature marvels of engineering and artistry. But how are these intricate models created? The process is a fascinating blend of design, precision manufacturing, and meticulous detailing. From initial concept to the final product, each stage demands expertise and careful execution. This guide will take you through each step, unveiling the secrets behind the creation of these iconic miniature vehicles. The creation of a diecast car is a testament to the passion and skill of the manufacturers who bring these tiny treasures to life.
Design and Planning
The journey of a diecast car begins with design and planning. This crucial phase lays the foundation for the entire production process. Designers start by selecting a real-life vehicle to replicate, often choosing classic cars, modern sports cars, or even trucks and buses. They meticulously research the vehicle’s specifications, dimensions, and aesthetic details. This research informs the creation of detailed blueprints and 3D models. These models serve as the guide for creating the molds used in die-casting. The accuracy of these initial plans is critical, as it determines the final model’s authenticity and appeal. The design phase also includes decisions about the car’s scale (e.g., 1 18, 1 24, 1 43) and the level of detail desired.
Creating the Blueprint
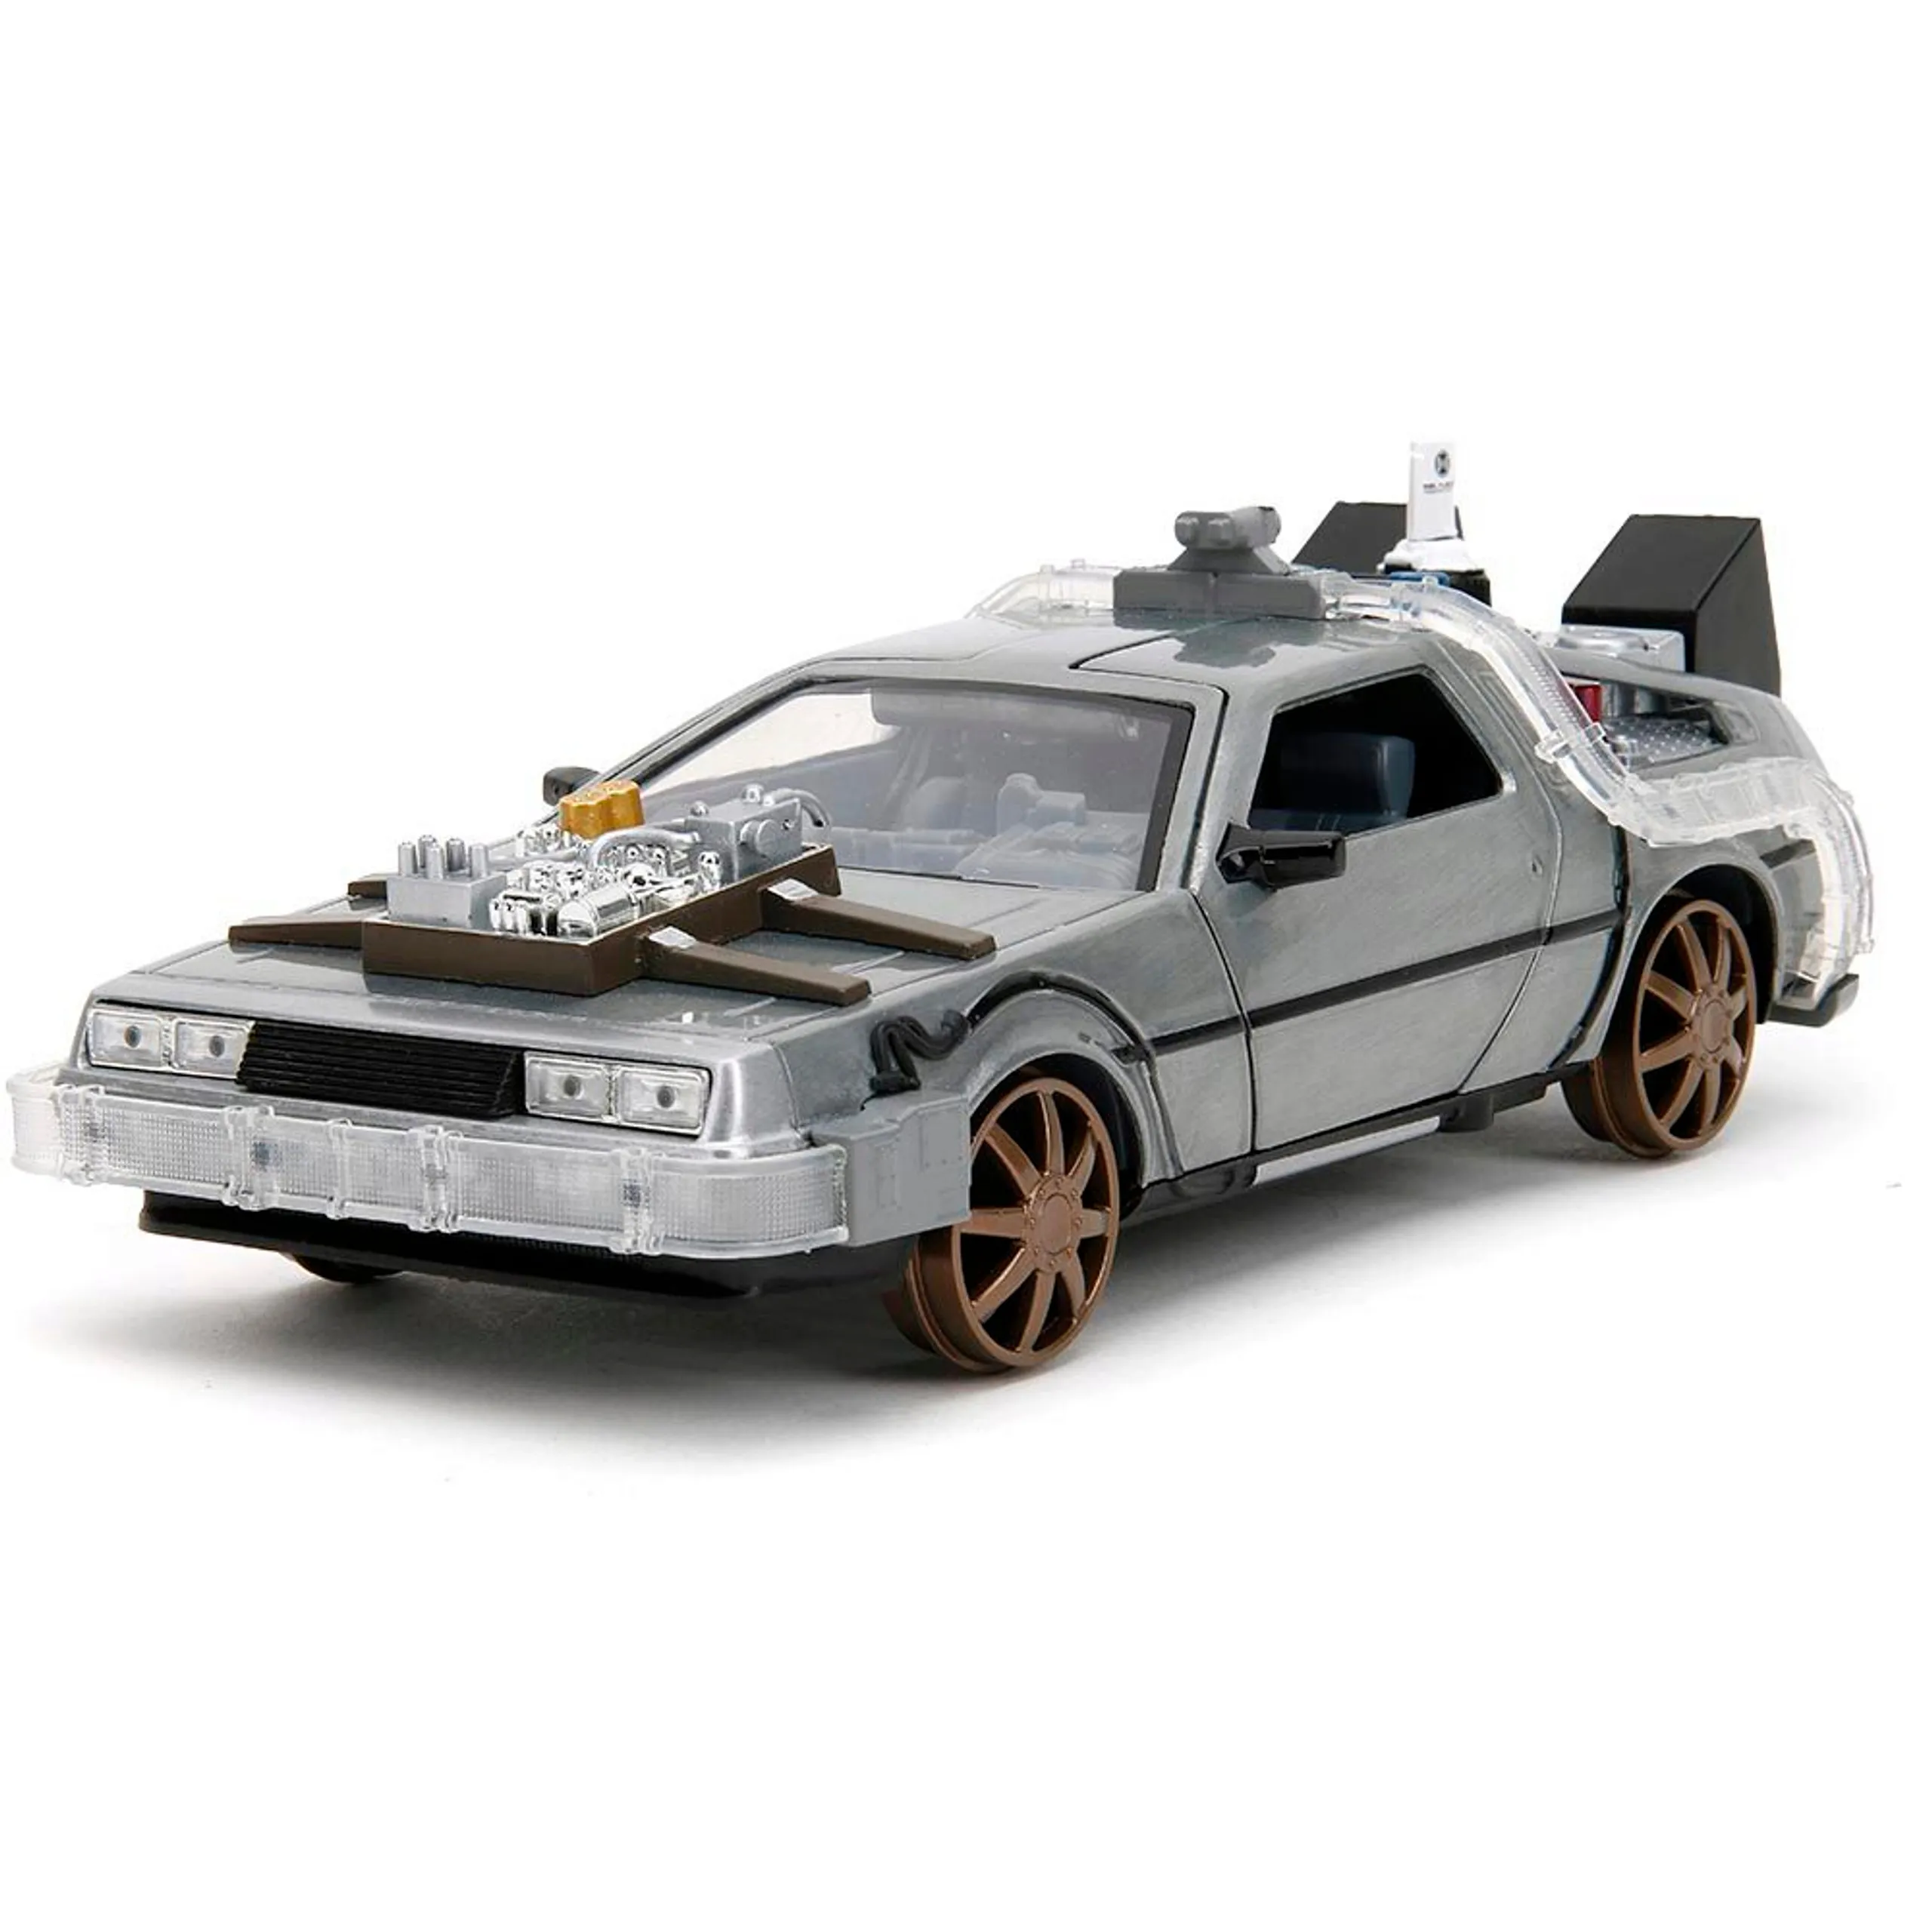
The blueprint is a detailed technical drawing that guides the entire manufacturing process. It includes all the measurements, angles, and specifications necessary to create each component of the diecast car. Designers often use Computer-Aided Design (CAD) software to create these blueprints, allowing for precision and the ability to visualize the model in 3D. This software allows for the creation of detailed 3D models. These 3D models are then used to create the molds for the die-casting process. The blueprint also indicates the materials to be used, the colors, and the placement of decals and other detailing elements. The accuracy of the blueprint is crucial to the model’s final appearance and its adherence to the real-life vehicle’s design.
Material Selection
The choice of materials is critical for the durability, weight, and overall quality of the diecast car. The most common material used for the body and chassis is zinc alloy, also known as Zamak. This alloy is chosen for its excellent casting properties, strength, and ability to capture fine details. Other materials like plastic, rubber, and sometimes even leather or fabric are used for various components, such as the tires, interior details, and seats. The selection of these materials is carefully considered to achieve the desired look and feel, as well as the overall realism of the model. The combination of materials contributes to the unique tactile experience of owning a diecast car.
Zinc Alloy
Zinc alloy, specifically a type called Zamak (zinc, aluminum, magnesium, and copper), is the backbone of most diecast cars. This alloy is ideal because it has a low melting point, making it easy to cast into intricate shapes. It also offers excellent dimensional stability, meaning it doesn’t warp or shrink significantly during cooling. This is essential for maintaining the accuracy and detail of the model. Zinc alloy is strong enough to withstand handling and play, yet it’s also relatively lightweight, which contributes to the overall feel of the diecast car. Its ability to accept a variety of finishes, including paint and plating, further enhances its versatility and appeal to collectors. The use of zinc alloy is a defining characteristic of diecast car manufacturing.
Manufacturing the Diecast Body
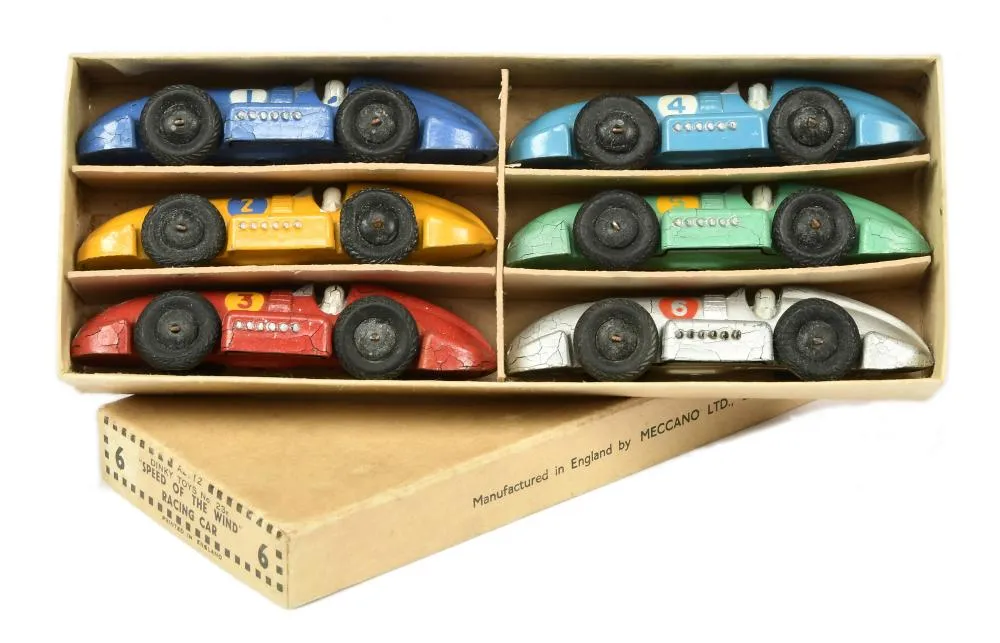
Once the design is finalized and the materials are selected, the manufacturing process begins. The creation of the diecast body is the core of this process, achieved through a technique called die-casting. This involves injecting molten metal, typically zinc alloy, into a mold under high pressure. This method allows for the creation of complex shapes with high precision, capturing fine details that would be impossible with other manufacturing methods. The die-casting process is a cornerstone of the diecast car industry, enabling the mass production of detailed and realistic miniature vehicles.
Die Casting Process
Die casting is a high-pressure process that forces molten metal into a mold. This mold, typically made of steel, is designed with great precision to match the exact shape of the car body. The molten zinc alloy is injected into the mold under high pressure, ensuring that it fills every crevice and detail. The metal quickly cools and solidifies within the mold. Once the metal has solidified, the mold opens, and the finished body is ejected. The die-casting process is highly efficient and allows for the rapid production of large quantities of identical parts, essential for mass-producing diecast cars. It is an automated process that reduces the need for manual labor, thereby speeding up the production cycle.
Mold Creation
The mold is a crucial component of the die-casting process, and its creation is an art form in itself. The mold is typically made from high-strength steel, capable of withstanding the high pressures and temperatures of the die-casting process. The mold is created based on the detailed blueprints and 3D models. The mold is made up of two halves, each containing intricate cavities that define the shape of the car body. These cavities are machined with incredible precision to capture every detail of the car’s design, from the curves of the body to the smallest features like door handles and grilles. The quality and accuracy of the mold directly impact the quality and appearance of the final diecast car. A well-crafted mold ensures a clean and detailed casting.
Casting Procedure
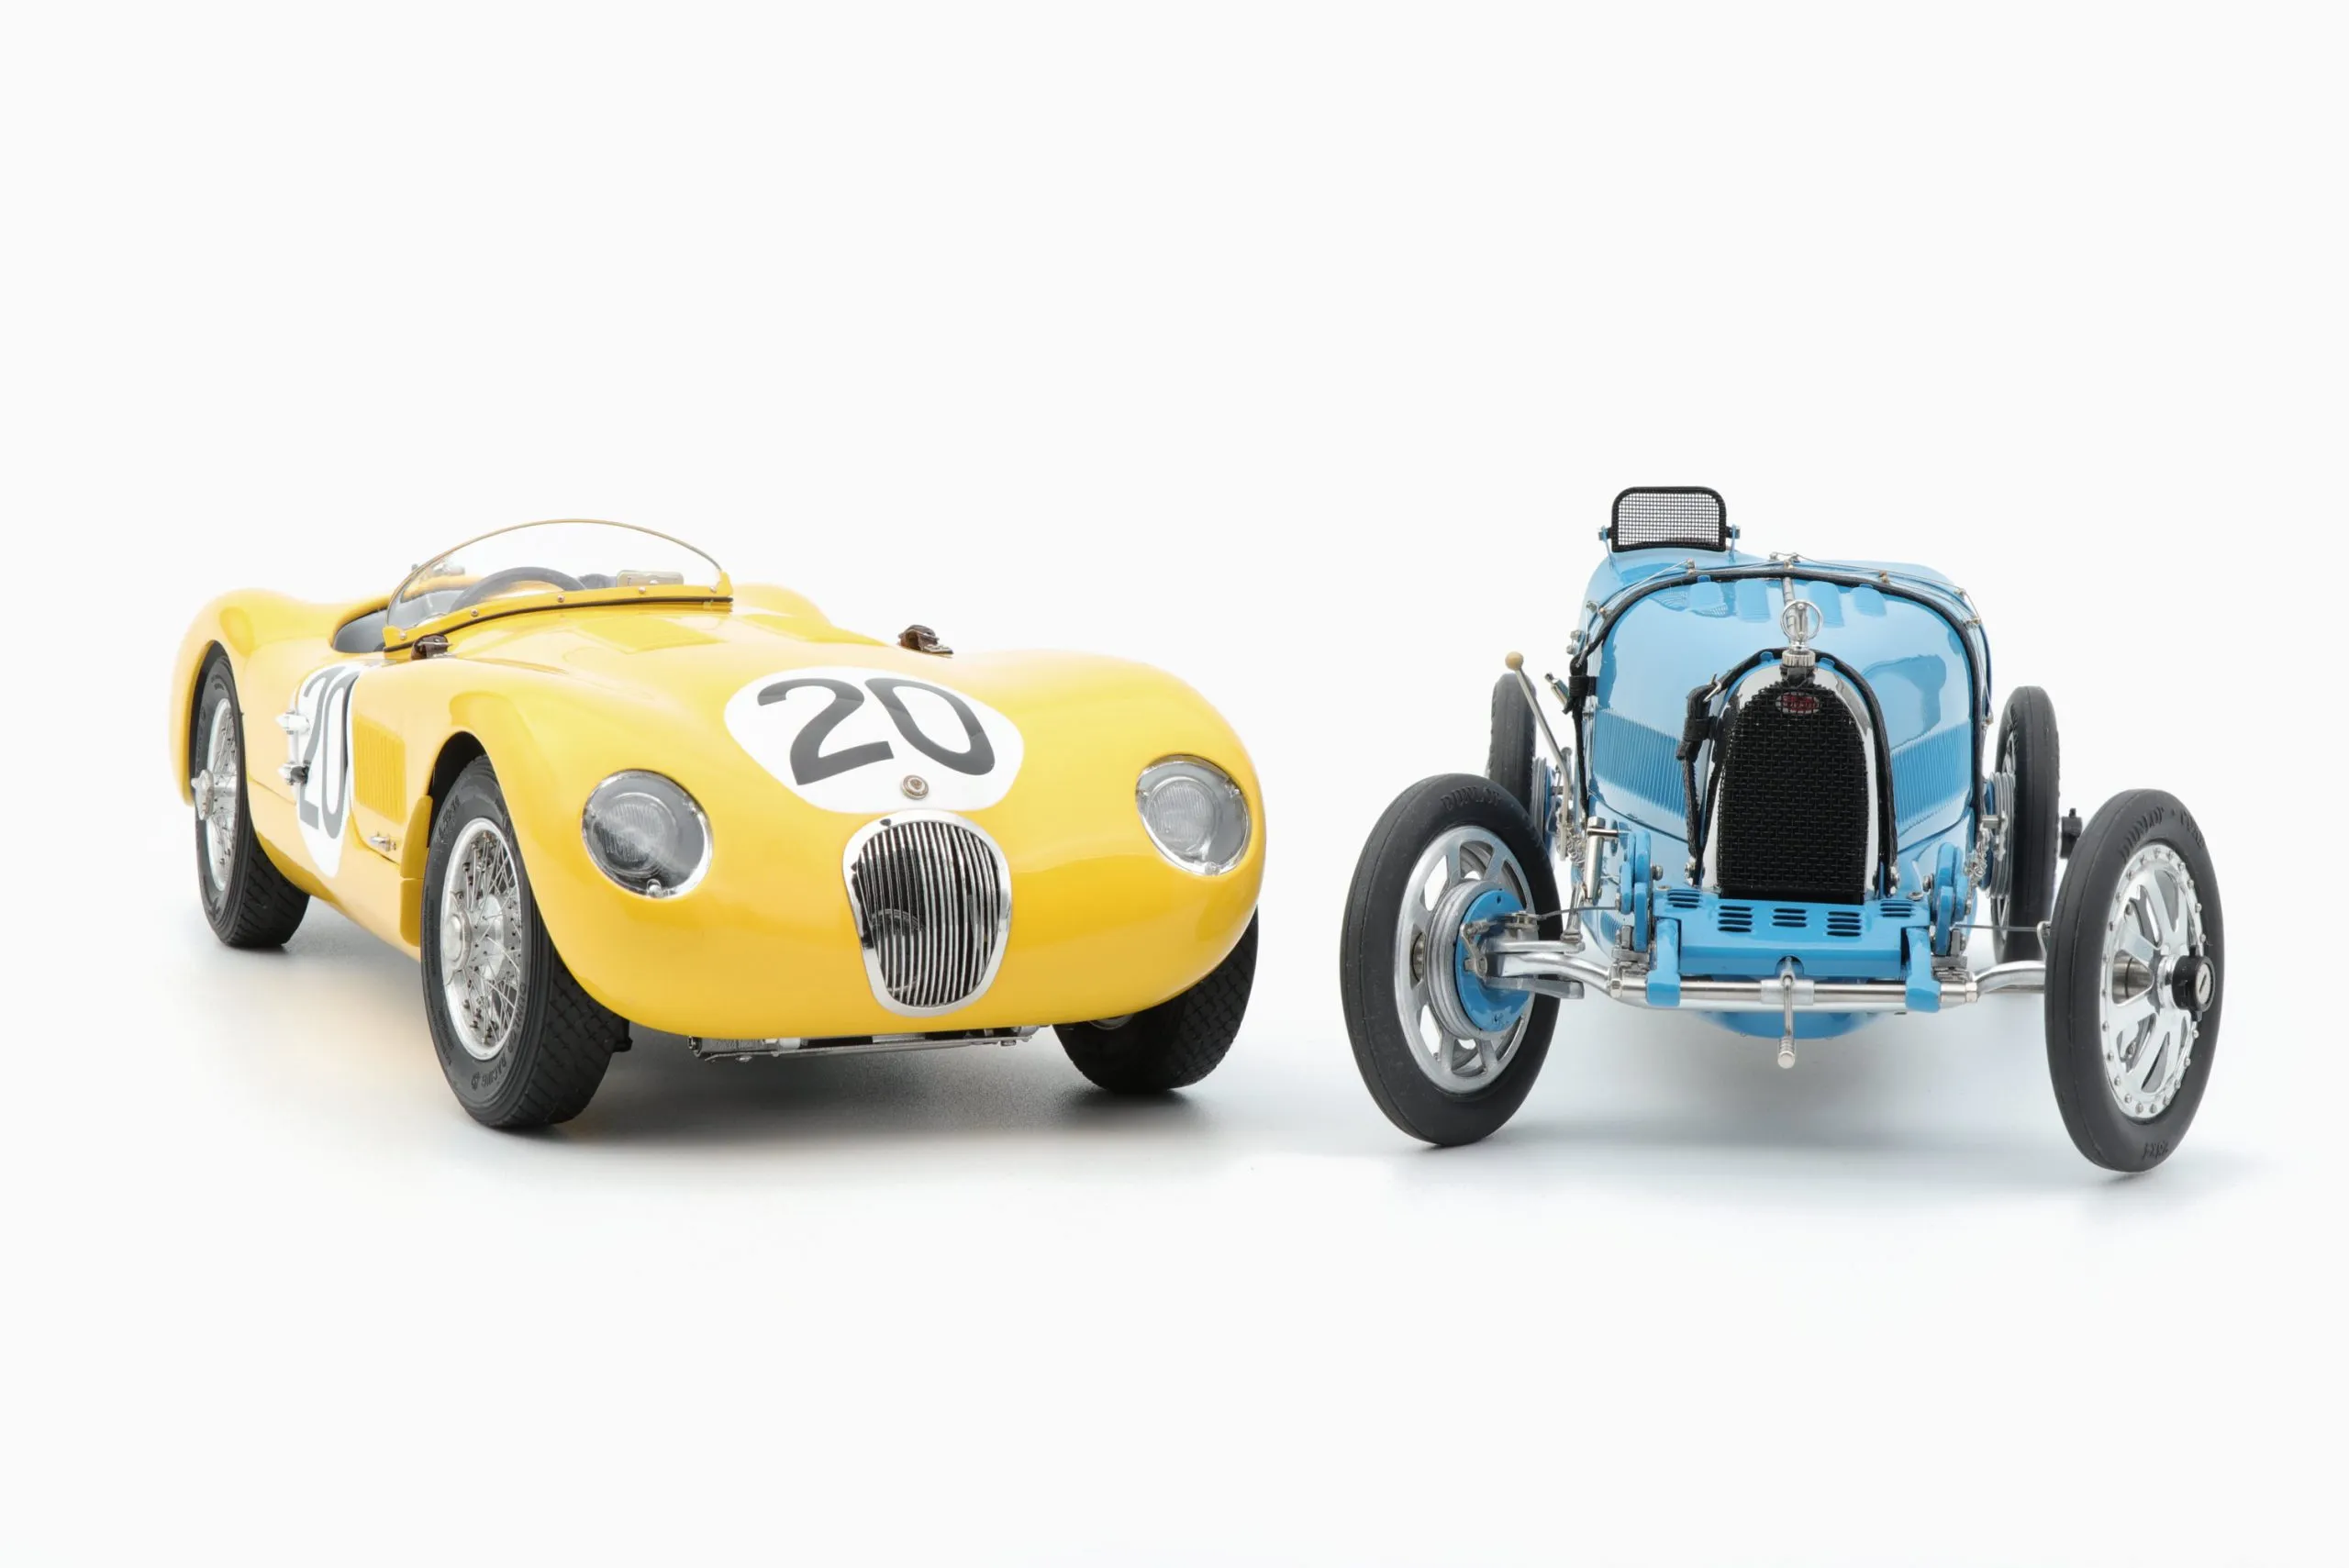
The casting procedure is a highly automated process that takes place within a die-casting machine. The molten zinc alloy is heated to its melting point and then injected into the mold under high pressure. This pressure forces the molten metal into every detail of the mold, ensuring that every feature is captured. Once the mold is filled, the metal is allowed to cool and solidify. The cooling time depends on the size and complexity of the casting. After the metal has solidified, the mold opens, and the cast body is ejected. Any excess material, such as the sprue (the channel through which the metal entered the mold), is trimmed away. The casting procedure is a fast and efficient process, allowing for mass production.
Trimming and Finishing
After the casting process, the diecast body undergoes trimming and finishing. This involves removing any excess material, such as the sprue and flash (thin sheets of metal that may have escaped the mold), and smoothing any rough edges. The body is then cleaned and prepared for painting. This stage may also involve polishing the surface to remove any imperfections or casting marks. The trimming and finishing process is critical for achieving a smooth and refined surface, making the car ready for the next stage of its journey. These steps ensure that the final product meets the high standards of quality and detail expected by collectors.
Painting and Decoration
Painting and decoration bring the diecast car to life, adding color, detail, and realism. This is a multi-step process that begins with preparing the surface for paint. The body is often primed to create a smooth surface for the paint to adhere to. Then, the base coat of paint is applied. This can be done using various methods, including spraying or dipping. After the base coat is dry, the car may receive additional coats of paint to achieve the desired color and finish. Detailing, such as stripes, logos, and other intricate designs, is often applied using decals, pad printing, or tampo printing, which provides a high level of detail. The painting and decoration process is a blend of art and technology, requiring skill and precision to achieve a flawless finish.
Priming and Base Coats
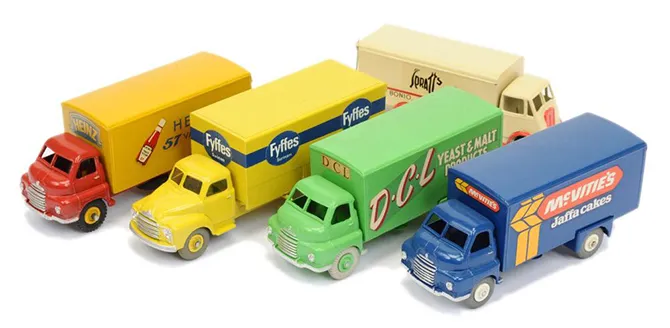
Priming is the first step in the painting process. A primer is applied to the bare metal body to create a uniform surface for the paint to adhere to. It also helps to protect the metal from corrosion and improves the durability of the paint finish. After the primer has dried, the base coats of paint are applied. These are the main colors of the car and are usually applied in multiple thin coats to achieve a smooth and even finish. The color of the base coat is chosen based on the design of the car. High-quality paints are used to ensure that the color is vibrant and long-lasting. These steps establish the foundation for the car’s visual appeal and provide a consistent surface for the detailing process.
Applying Decals
Decals are used to add intricate details, such as logos, stripes, and other markings, to the diecast car. Decals are created using a printing process that transfers designs onto thin adhesive sheets. These sheets are then carefully applied to the car’s surface. Applying decals is a delicate process that requires precision and attention to detail. The decals must be aligned correctly and applied without any air bubbles or wrinkles. Sometimes the decals are applied using heat to help them conform to the curves of the car. The application of decals significantly contributes to the authenticity and realism of the diecast car, adding details like sponsor logos, manufacturer badges, and other distinguishing marks that bring the model to life. The precise application of decals is crucial to achieve the final realistic appearance.
Assembly and Detailing
Once the body has been painted and decorated, it’s time for assembly and detailing. This is where the various components of the car, such as the chassis, wheels, tires, interior details, and windows, are put together. The assembly process is often done by hand, requiring skilled workers to carefully attach each part. Detailing can include adding intricate features like headlights, taillights, mirrors, and other small elements that enhance the realism of the model. The quality of the assembly and detailing is a critical factor in determining the overall quality and value of the diecast car. This stage is where the model truly takes shape, transforming from individual parts into a cohesive and captivating miniature vehicle.
Chassis and Component Assembly
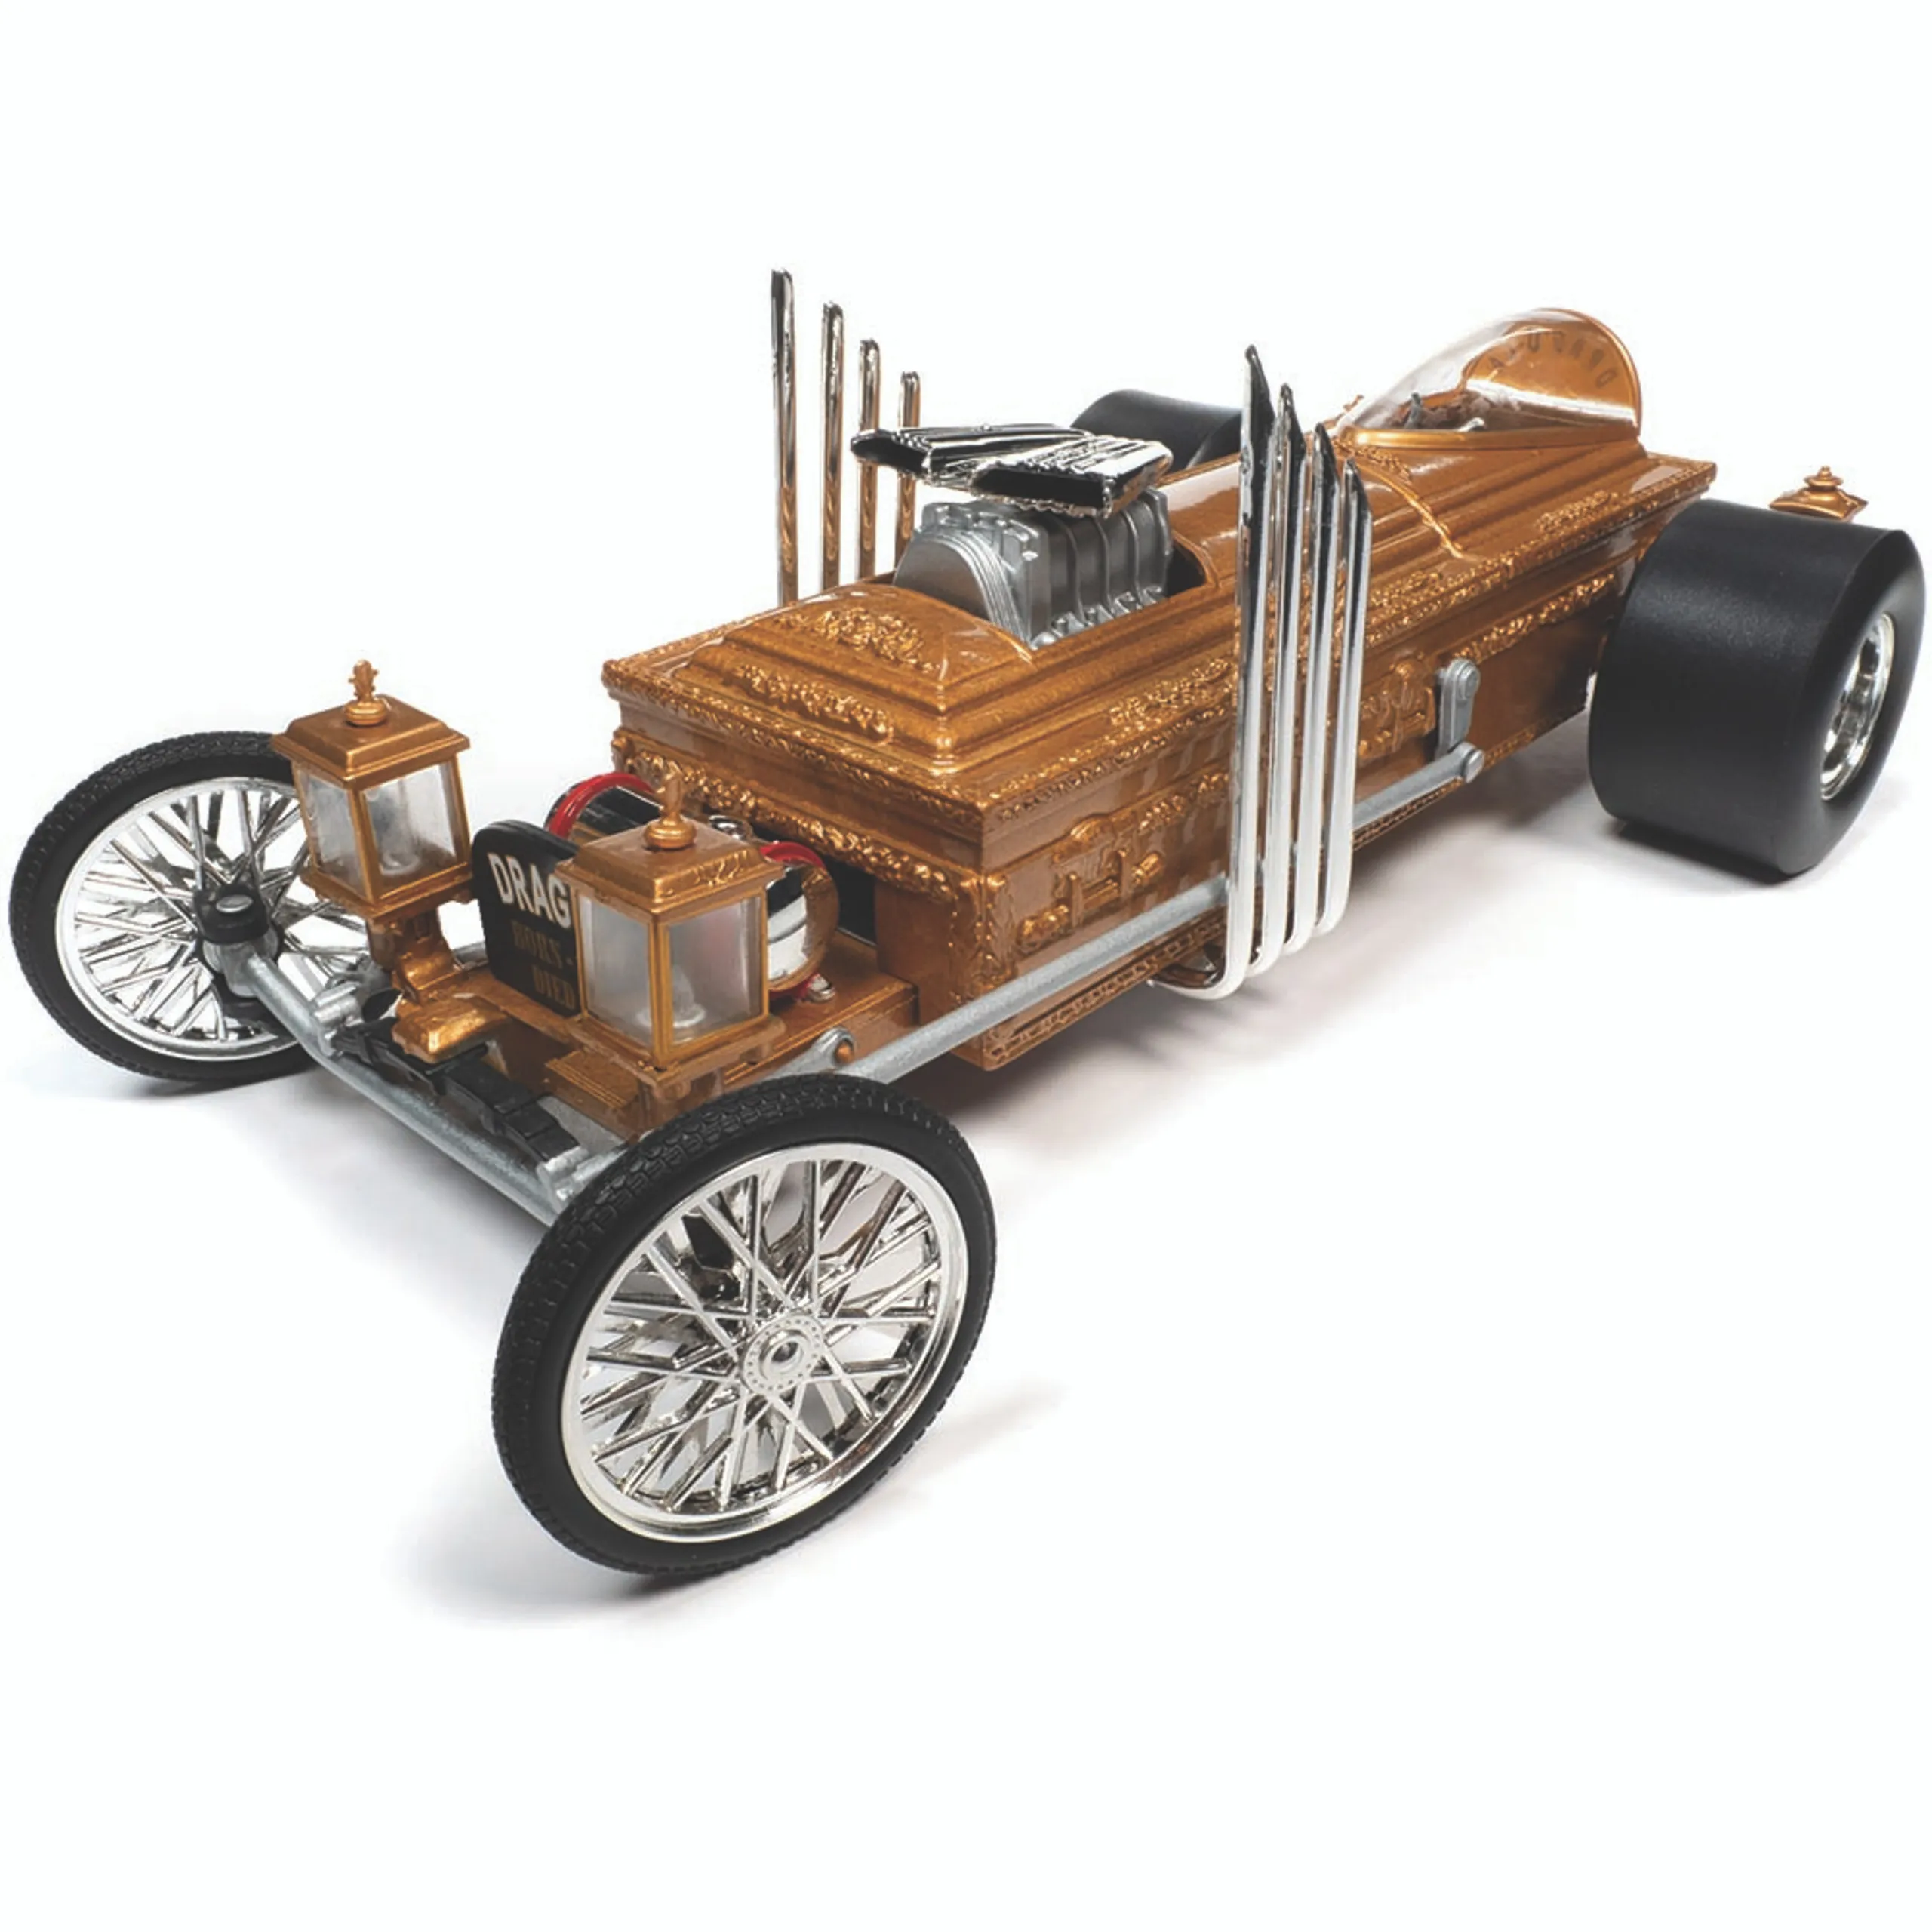
The chassis is the foundation of the diecast car, providing structural support and housing the wheels, axles, and often the engine and exhaust details. The chassis is usually made of a separate piece and then attached to the car body. The wheels and tires are carefully attached to the axles, ensuring that they spin freely. Interior components, such as seats, dashboards, and steering wheels, are added. Small details, such as side mirrors and door handles, are also added during this phase. Each component is meticulously assembled, contributing to the overall appearance and functionality of the car. The meticulous assembly of these components transforms the separate parts into a functional and visually appealing model.
Quality Control
Quality control is an essential stage in the diecast car manufacturing process. Each model undergoes rigorous inspection to ensure that it meets the highest standards of quality and detail. Inspectors check for any imperfections, such as paint defects, misaligned parts, or other flaws. Any cars that do not meet the required standards are rejected or sent back for rework. This quality control process ensures that the final product is of the highest quality and meets the expectations of collectors and enthusiasts. Quality control ensures that only the best models reach the consumer, which is critical for maintaining brand reputation and customer satisfaction. The attention to detail during the quality control process ensures that only perfect models make their way to the collectors.
In conclusion, the creation of a diecast car is a complex and fascinating process. From the initial design to the final inspection, each step requires precision, skill, and a deep understanding of manufacturing techniques. These miniature marvels are not merely toys; they are works of art, a testament to the dedication and craftsmanship of the manufacturers. Now you have a better appreciation for how these intricate models are brought to life.
