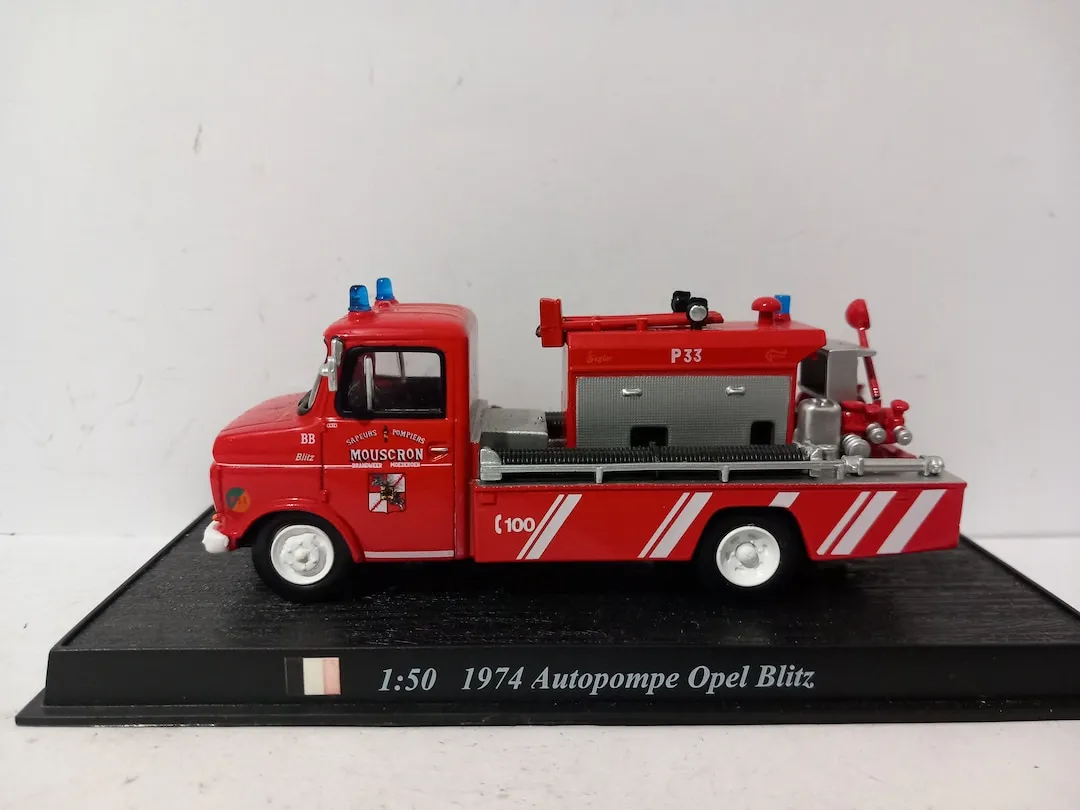
Understanding Custom Fire Engine Paint Jobs
Customizing diecast fire engines through paint jobs is a rewarding hobby that allows enthusiasts to create unique and highly detailed replicas. This guide will take you through the entire process, from choosing the right materials to applying the finishing touches. The goal is to transform a standard diecast model into a personalized masterpiece, reflecting the specific details of a real-life fire engine or a custom design of your own creation. Whether you’re a seasoned modeler or a beginner, this guide provides the knowledge and techniques needed to achieve professional-quality results. With the right approach, you can breathe life into these miniature vehicles, making them stand out in any collection. This in depth guide will walk you through the many steps to building a custom fire engine.
Importance of Paint Job
A well-executed paint job is the cornerstone of a stunning custom diecast fire engine. It not only enhances the aesthetic appeal but also significantly impacts the model’s realism and collectibility. A quality paint job accurately replicates the colors, finishes, and markings of real fire engines, adding depth and authenticity. This is where the model truly comes to life. It allows you to replicate specific fire departments, historical vehicles, or even create entirely fictional designs. The paint job protects the diecast metal from corrosion and damage, ensuring the model’s longevity. Furthermore, a professional-looking paint job elevates the model’s value, making it a prized possession for any collector. Investing time and effort in this critical step is essential for achieving a truly exceptional custom fire engine.
Choosing the Right Paint
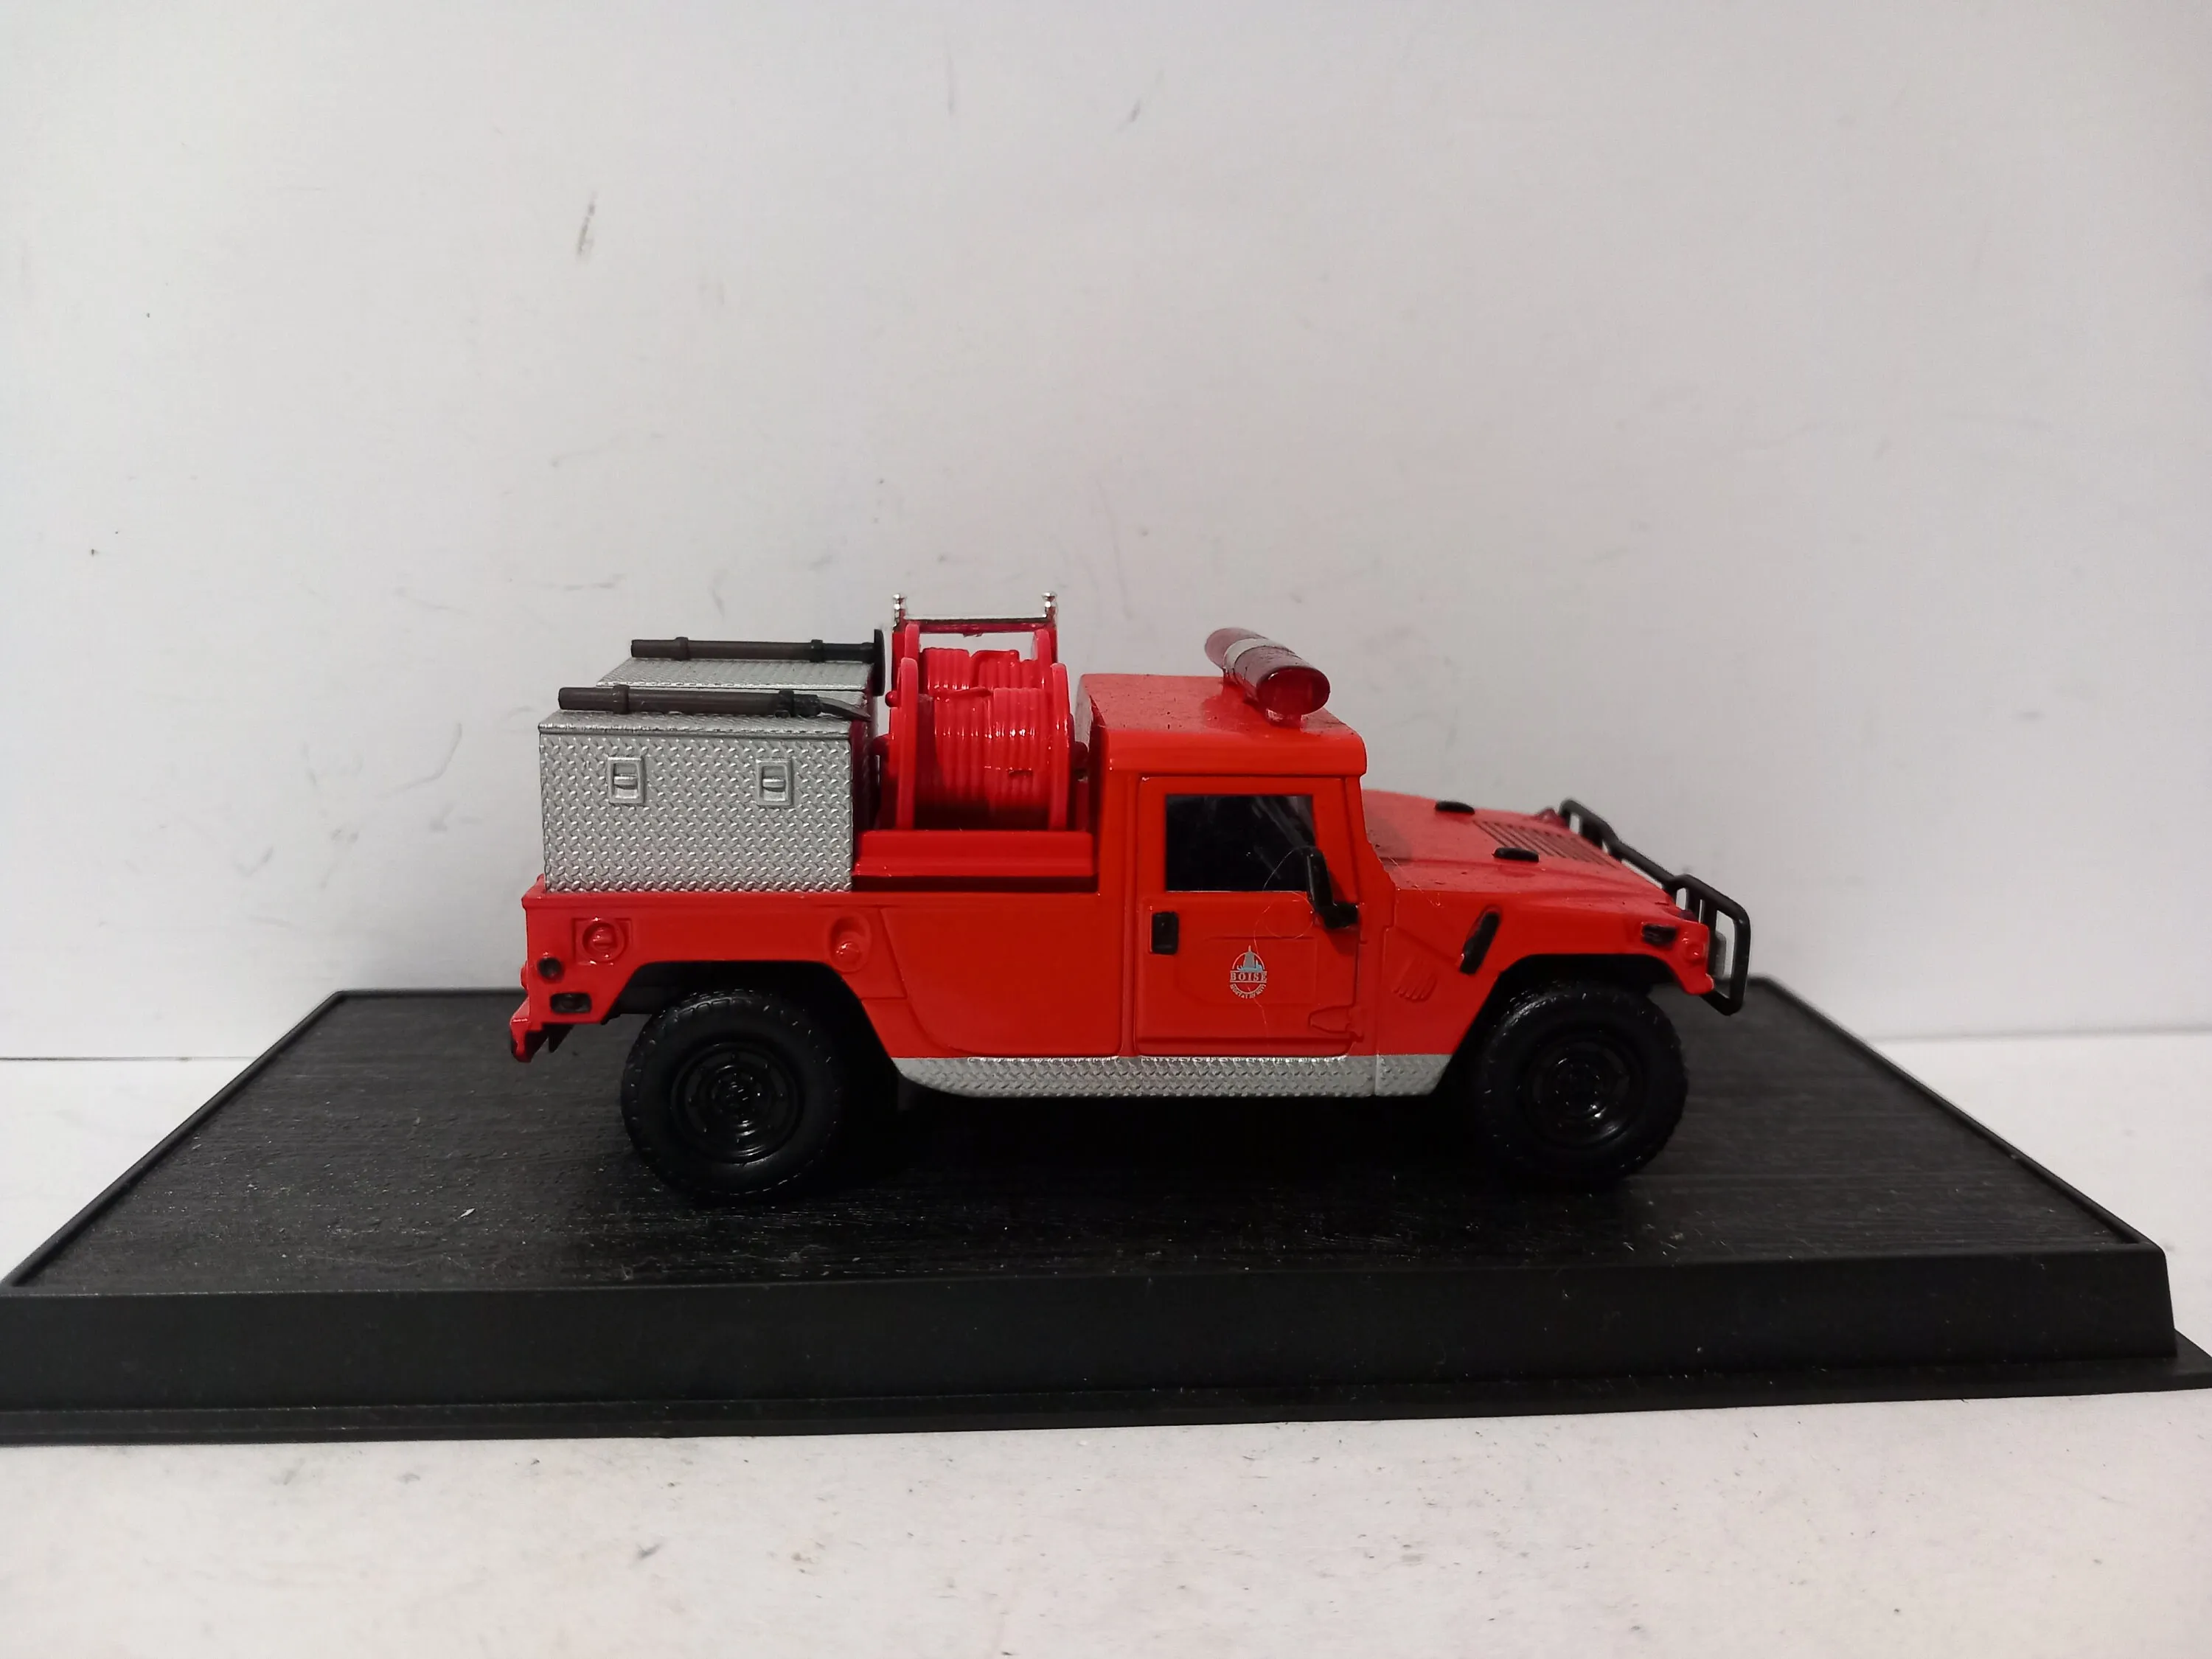
Selecting the appropriate paint is crucial for the success of your custom fire engine paint job. The choice of paint affects everything from the ease of application to the final appearance and durability of the model. Consider factors like the paint’s properties, compatibility with the model’s material, and your personal skill level. Different types of paints offer various advantages and disadvantages, so it’s essential to understand your options. Always prioritize high-quality paints specifically designed for model building, as they are formulated to provide excellent coverage, color accuracy, and resistance to chipping and fading. Taking the time to research and choose the right paint will save you headaches and ensure the best possible outcome for your project. The right paint makes all the difference!
Types of Paint
Several types of paints are commonly used for custom diecast fire engine projects. Each has its own characteristics, making them suitable for different applications and skill levels. Acrylic paints are popular due to their ease of use, low odor, and quick drying times. They are water-based, making them easy to clean up, and they offer good color vibrancy. Enamel paints provide a durable, hard-wearing finish that is resistant to scratches and chemicals. However, they take longer to dry and require the use of solvents for cleanup. Lacquer paints dry quickly and offer a smooth, glossy finish, but they can be more challenging to apply and may require extra safety precautions. The best choice depends on the project’s specifics, your experience, and the desired finish. It’s recommended to experiment with different types to find the one you prefer. No matter what you decide, make sure you’re using the correct safety precautions.
Paint Properties
The properties of the paint you choose greatly influence the final result. Consider the finish (matte, satin, gloss), which affects how light reflects off the surface. Gloss paints offer a shiny, reflective surface, while matte paints have a non-reflective, flat appearance. The paint’s pigment load determines its opacity and coverage. Higher pigment loads provide better coverage with fewer coats. Drying time varies between paint types, impacting how quickly you can proceed with the project. Fast-drying paints allow for quicker project completion, while slower-drying paints offer more time for adjustments and corrections. Durability and resistance to chipping, fading, and chemicals are also important considerations, especially if the model will be handled frequently. Before committing to a full paint job, always test the paint on a small, inconspicuous area to ensure it meets your requirements and produces the desired effect. This is especially useful when you’re dealing with custom work.
Essential Tools and Materials
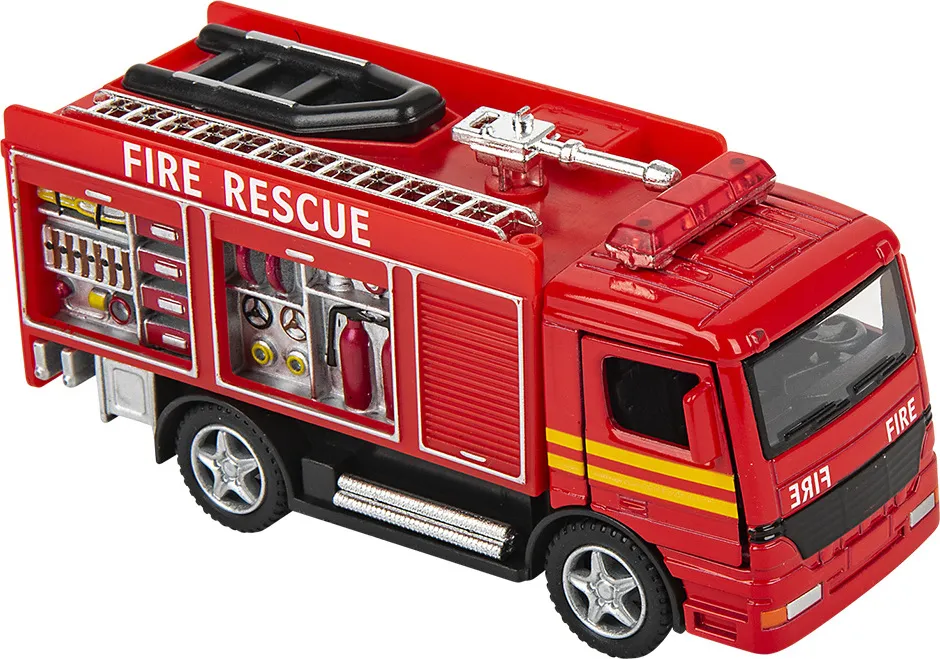
Having the right tools and materials is key to a successful custom fire engine paint job. Essential items include high-quality paints, primer, and clear coat. A good primer ensures the paint adheres properly to the model’s surface. A clear coat protects the paint and gives the model a professional finish. You’ll also need a selection of paint brushes, including fine-tipped brushes for detailed work. An airbrush and compressor can provide a smooth, even finish, particularly for larger surfaces. Other useful items include a hobby knife, sandpaper, masking tape, and a cutting mat. For detail work, consider using a magnifying lamp and detail brushes. Proper ventilation and personal protective equipment, such as a respirator and gloves, are essential for safety. Organizing your workspace and having all your materials within easy reach will help streamline the painting process and make it more enjoyable. Preparing your workplace is just as important as preparing the model itself.
Preparing Your Diecast Fire Engine
Proper preparation is critical for ensuring a flawless paint job on your custom diecast fire engine. The goal is to create a clean, smooth surface for the paint to adhere to. This process involves carefully cleaning and preparing the model to remove any existing paint, dirt, or imperfections. This step ensures optimal paint adhesion and a professional finish. This preparation phase is something that is often overlooked, but is key to a professional paint job. A well-prepared model is a foundation for a stunning result. Take your time and be meticulous with this step; it will pay off with a superior finish. The better you prepare the model, the better the end result will be.
Cleaning the Model
Before painting, thoroughly clean the diecast fire engine to remove any dust, grease, or fingerprints. Use warm, soapy water and a soft cloth to gently wash the model. Avoid using harsh chemicals or abrasive cleaners, as they can damage the surface. Rinse the model thoroughly and allow it to dry completely. For stubborn dirt or grime, a mild degreaser can be used, but be sure to test it on a small area first to ensure it doesn’t affect the existing paint or decals. Cleaning ensures that the primer and paint will adhere properly to the model’s surface. This is also the time to remove any existing decals or stickers carefully using a hobby knife or decal remover. Thorough cleaning creates a clean surface for the next steps.
Sanding and Priming
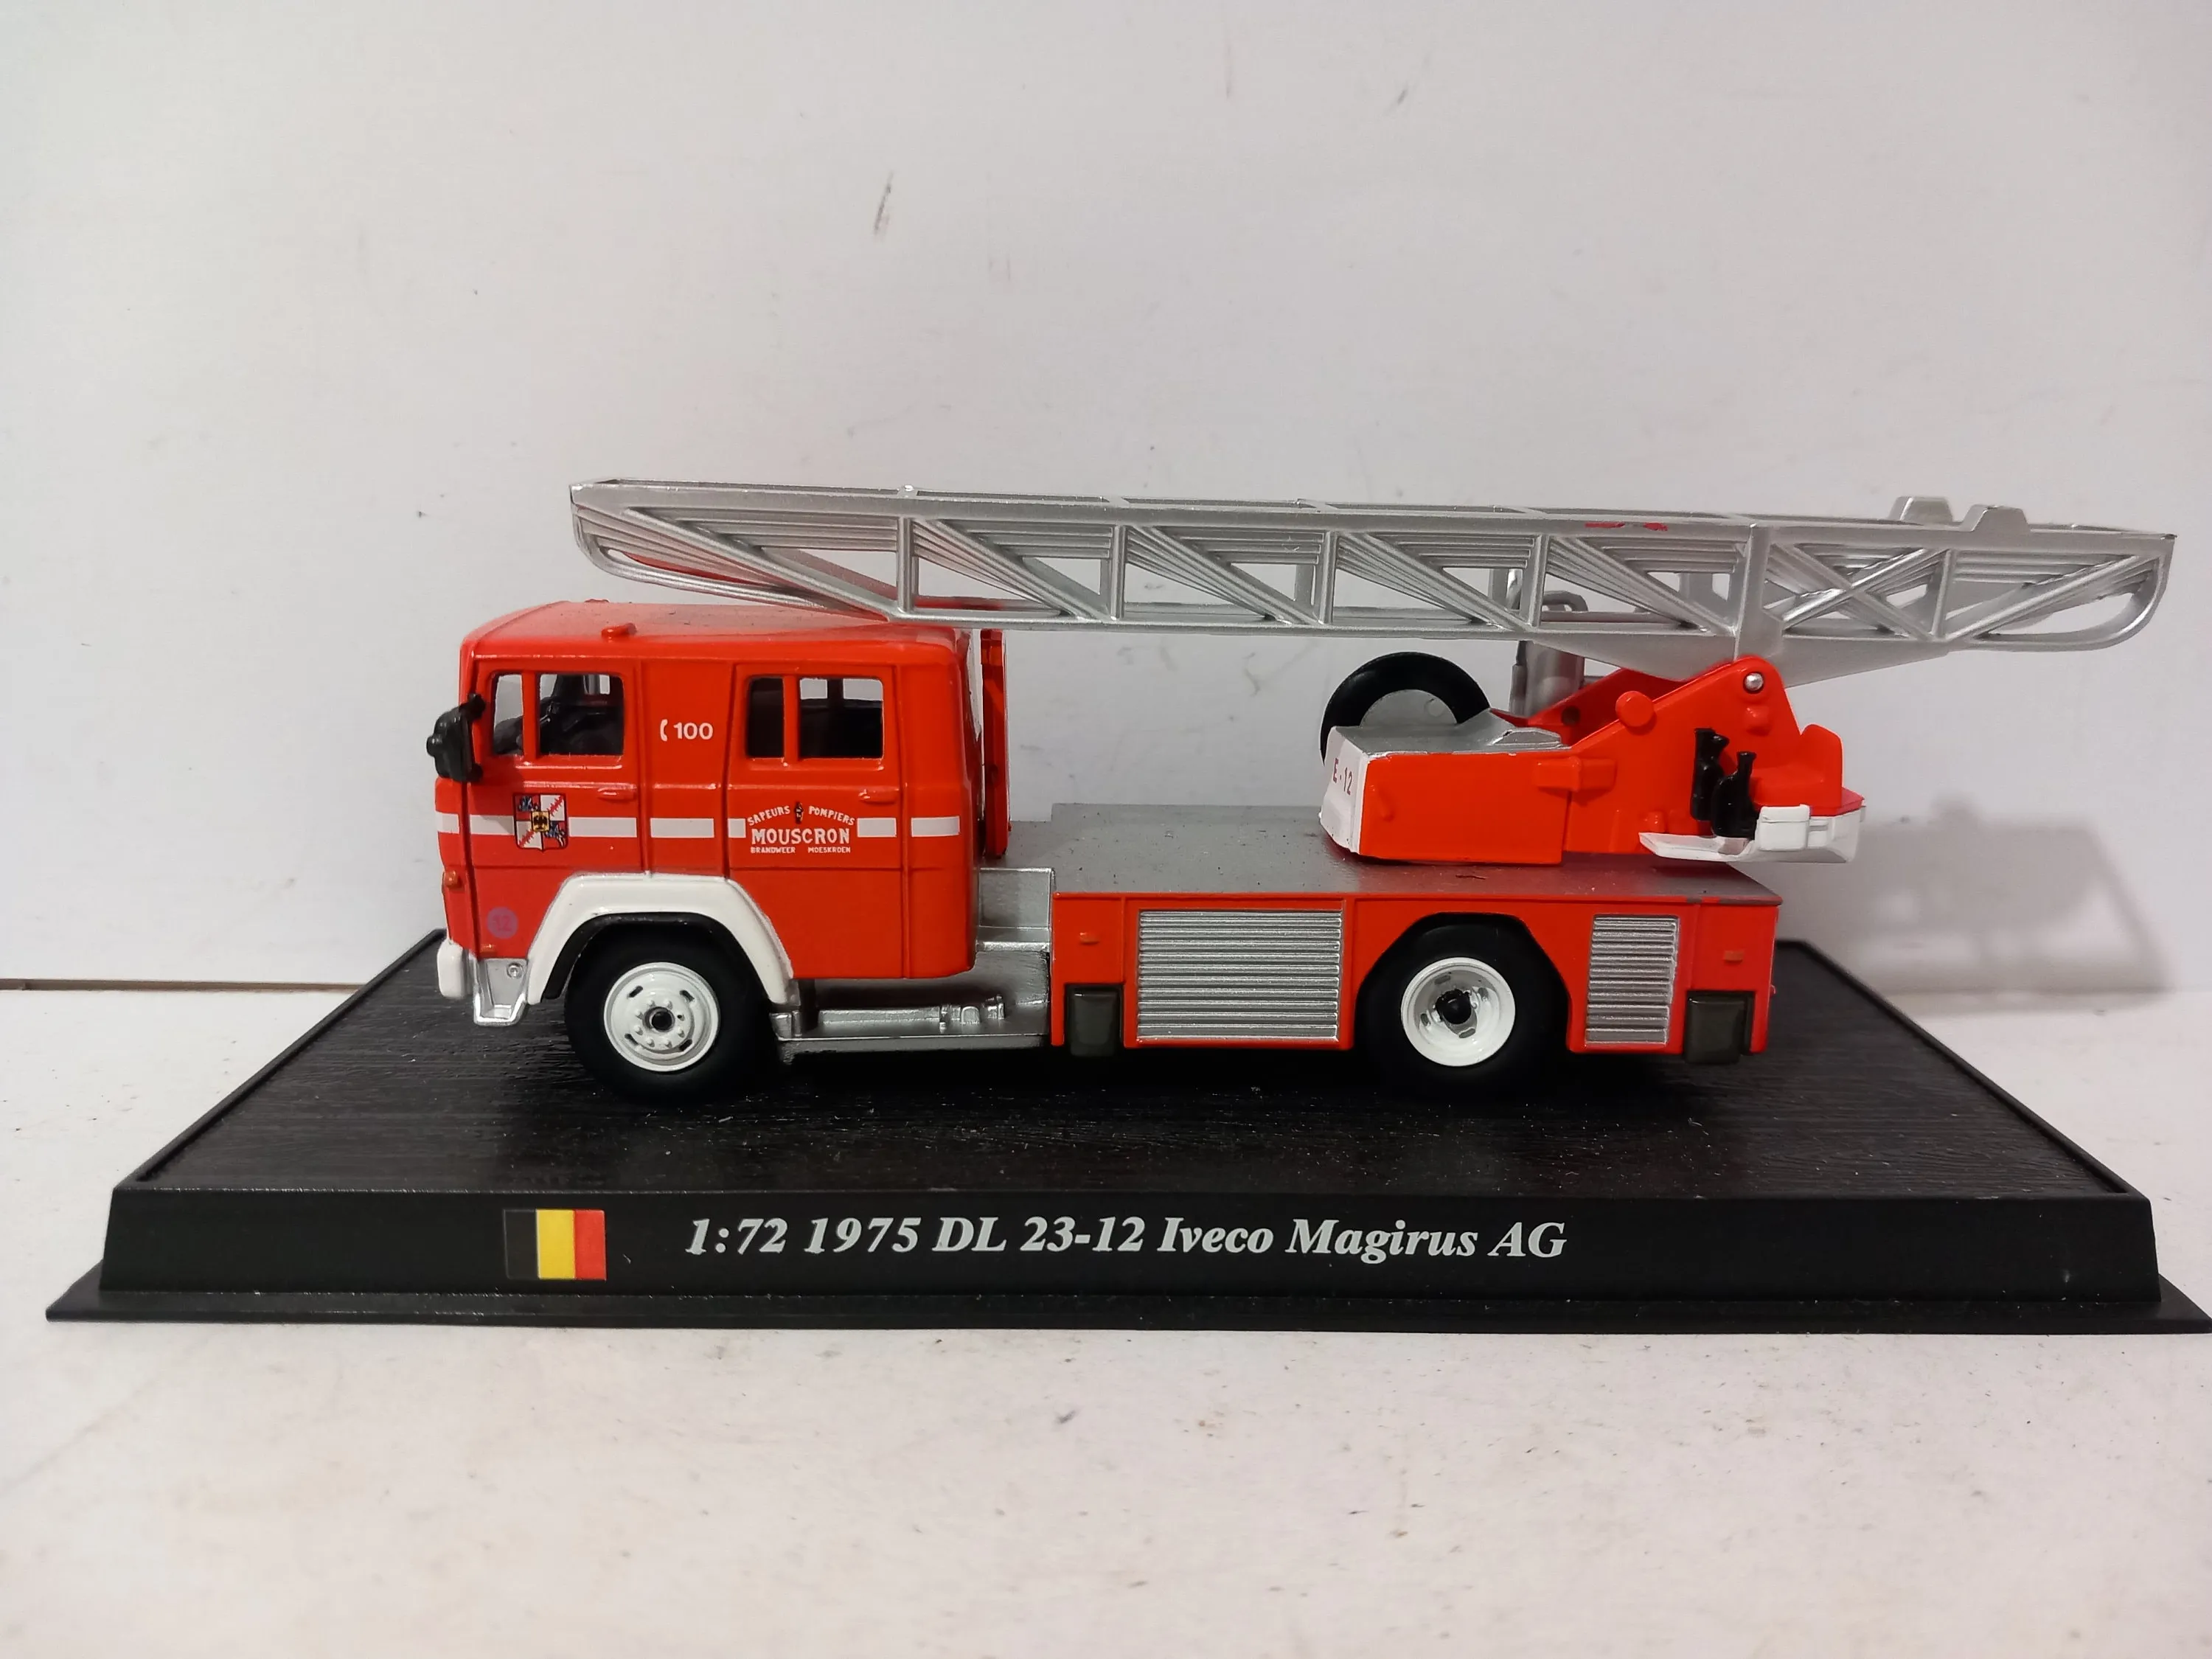
Sanding and priming are essential steps in preparing the diecast fire engine for painting. Sanding removes any imperfections, such as mold lines or scratches, creating a smooth surface. Start with a coarser grit sandpaper (e.g., 400 grit) to remove larger imperfections and gradually work your way to finer grits (e.g., 600-800 grit) for a smooth finish. Be careful not to sand away any details. After sanding, clean the model again to remove any dust. Apply a thin, even coat of primer to the entire surface of the model. Primer helps the paint adhere better, provides a uniform surface, and enhances the paint’s color. Allow the primer to dry completely according to the manufacturer’s instructions, and then lightly sand it with fine-grit sandpaper for a smooth finish. Priming is the most important step in the process, so take your time!
The Painting Process
The painting process is where your custom fire engine truly takes shape. This stage involves applying the base coat, adding details, and sealing the paint job. The goal is to achieve a smooth, even finish with vibrant colors and realistic details. Patience and attention to detail are crucial for success. Whether you’re using an airbrush or paintbrushes, take your time and apply thin, even coats of paint. Allow each coat to dry completely before applying the next. This prevents runs, drips, and other imperfections. Proper lighting and a clean workspace are essential for accurate color matching and detail work. Careful masking is key to creating clean lines and preventing paint from bleeding into unwanted areas. With careful planning and a methodical approach, you can create a stunning and professional-looking custom fire engine. Be sure to have a steady hand!
Applying the Base Coat
Applying the base coat is the first step in the painting process, providing the foundation for your custom fire engine’s color scheme. Using your chosen paint, apply thin, even coats, allowing each coat to dry completely before applying the next. This helps prevent runs and drips, and ensures a smooth finish. For best results, use multiple thin coats rather than one thick coat. If you’re using an airbrush, maintain a consistent distance from the model and use smooth, even strokes. If you’re using a paintbrush, apply the paint in the same direction for each coat, and avoid brushstrokes that might show up in the final finish. Pay close attention to all areas of the model, ensuring complete coverage. Once the base coat is dry, inspect the model for any imperfections and address them before moving on to the next step. The base coat should be smooth and vibrant. Do not be afraid to go back and paint over areas until you are happy with the results!
Adding Details and Graphics
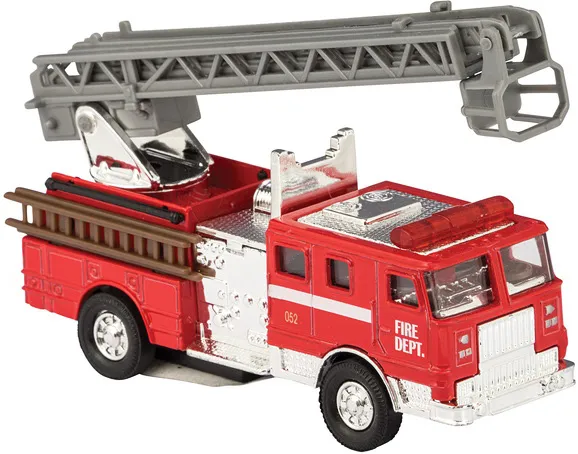
Once the base coat is dry, it’s time to add details and graphics. This is where your creativity can really shine. Use fine-tipped brushes, masking tape, and stencils to add stripes, logos, and other markings. For intricate details, consider using decals or water slide transfers. These can be easily applied and provide a high level of detail. Use reference photos of real fire engines or your own custom designs as a guide. Take your time and be precise with each detail. Patience is key to achieving a professional-looking finish. Use different brush sizes to capture details on the model. Once the details are complete, allow them to dry thoroughly before sealing the paint job. This is also a great time to make your own decals!
Sealing the Paint Job
Sealing the paint job is crucial for protecting your work and giving the model a professional finish. Apply a clear coat over the entire model to seal and protect the paint. The clear coat provides a durable, scratch-resistant layer and enhances the model’s gloss. Use a high-quality clear coat specifically designed for models. Apply the clear coat in thin, even coats, allowing each coat to dry completely before applying the next. Avoid applying too much clear coat at once, as this can lead to runs or drips. Once the clear coat is dry, the model should have a smooth, even finish. Inspect the model for any imperfections and address them. Sealing the paint job gives the model a realistic look and feel. Some options include matte, satin, and glossy options. Choose the best one that fits your needs!
Final Touches and Detailing
The final touches and detailing steps are where you refine your custom fire engine and bring it to life. This involves adding decals, markings, and other small details. These finishing touches add authenticity and realism, making your model stand out. Careful attention to detail is essential. This final step is important as it can be the difference between good and great. Use high-quality decals and apply them carefully, following the manufacturer’s instructions. Add any remaining details, such as lights, sirens, or equipment. This is also the time to touch up any imperfections or make final adjustments. Once everything is complete, step back and admire your work. Your custom fire engine is ready to be displayed and enjoyed.
Adding Decals and Markings
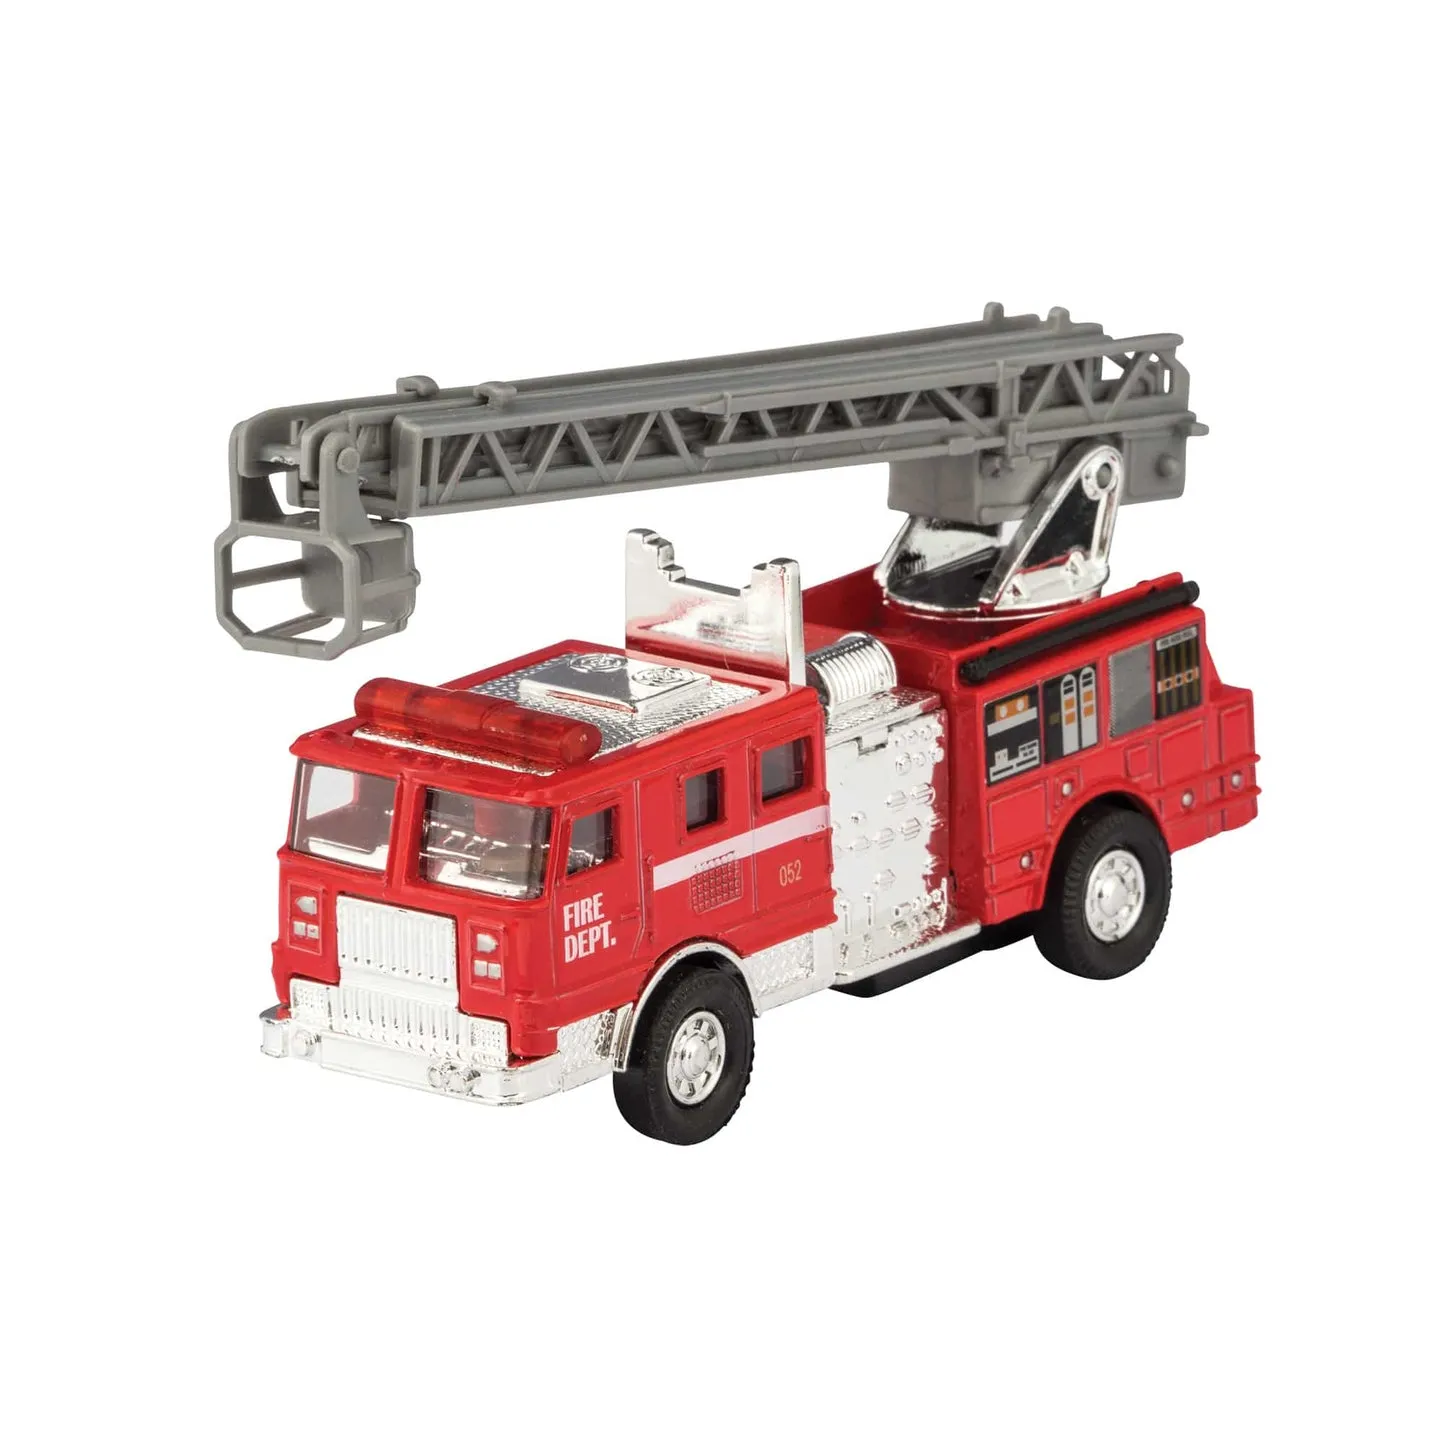
Adding decals and markings is a crucial step in detailing your custom fire engine. Choose high-quality decals that are appropriate for your model. Carefully cut out each decal, and soak it in warm water until it is ready to slide off the backing paper. Position the decal on the model and use a soft cloth or cotton swab to gently remove any air bubbles and smooth out any wrinkles. Use decal setting solution and decal softener to help the decals conform to the model’s surface and adhere securely. Adding markings provides the model with realism. Once the decals are dry, apply another thin coat of clear coat to seal them and protect them from damage. Adding decals is what separates the novice from the professional. This also requires a steady hand and patience.
Protecting Your Work
Once your custom diecast fire engine is complete, it’s important to protect your work. Store the model in a dust-free environment, away from direct sunlight and extreme temperatures. Consider displaying your model in a protective case or display cabinet to prevent dust accumulation and physical damage. Avoid handling the model excessively, as this can lead to scratches or wear and tear. Regularly clean the model with a soft cloth to remove any dust or fingerprints. If you need to transport the model, wrap it carefully in bubble wrap or a soft material to prevent damage. Taking these precautions will help preserve your custom fire engine’s appearance and value for years to come. Properly protecting your work can keep your custom fire engine in mint condition.
Maintenance and Care
Maintaining your custom fire engine is essential for preserving its beauty and value. Regularly inspect the model for any signs of damage, such as scratches or chipping paint. If you notice any imperfections, address them promptly. Clean the model periodically with a soft, dry cloth to remove dust and debris. Avoid using any harsh chemicals or abrasive cleaners, as these can damage the paint. If you need to remove any dirt or grime, use a mild soap and water solution. When handling the model, hold it by its base or wheels to avoid touching the painted surfaces. Proper maintenance ensures that your custom fire engine remains a cherished collectible for years to come. With the proper maintenance and care, your fire engine model can last a lifetime. Don’t be afraid to take care of your model, you worked hard to build it!
